QueueMetrics 19.04 WebRTC Softphone Tutorial
Introduction
Since QueueMetrics 19.04, QueueMetrics offers a stable WebRTC softphone based on the JsSIP library.
This softphone can be used by agents, through the QueueMetrics Realtime Agent Page, or by supervisors and administrators through the Wallboard Page.
This new feature allows agents to work without the need for a physical phone, while supervisors can monitor calls in realtime without leaving the wallboard page.
In this tutorial we will go through all the steps needed to set up and start using the softphone.
NOTE: This tutorial is intended for QueueMetrics 19.04. If you have an older version of QueueMetrics, please consider updating to the current release.
QueueMetrics
QueueMetrics is a highly scalable monitoring and reporting suite that addresses the needs of thousands of contact centers worldwide and offers a broad range of integrated benefits like agent productivity monitoring, target measurement, conversion rates tracking, realtime campaign statistics analysis and an easy to use interface. It’s available on premise or as a cloud hosted solution service.
Setting up QueueMetrics WebRTC Softphone
NOTE: The suggested way to run WebRTC on modern Asterisk systems is to use the PJSIP channel driver.
Unless you have a good reason to do it differently, or run an old version of Asterisk, please see an updated guide here:WebRTC set up using PJSIP
1. QueueMetrics TLS Setup
The WebRTC technology requires both QueueMetrics and Asterisk to work with HTTPS to guarantee the appropriate level of security.
For this reason we need to make sure that QueueMetrics is running in HTTPS.
For detailed instructions on how to setup QueueMetrics in HTTPS, you can refer to the advanced configuration manual in Serving QueueMetrics through a NGINX proxy chapter.
NOTE: If you are using FreePBX, chances are that port 80 and port 443 are already in use. In that case just substitute port 80 and 443 in the manual with 81 and 444.
2. FreePBX Extension Setup
NOTE: For the sake of this tutorial, we will use FreePBX 14.0.3.1. Any later version should work fine, as well as previous releases, as long as they have WebRTC support and TLS enabled.
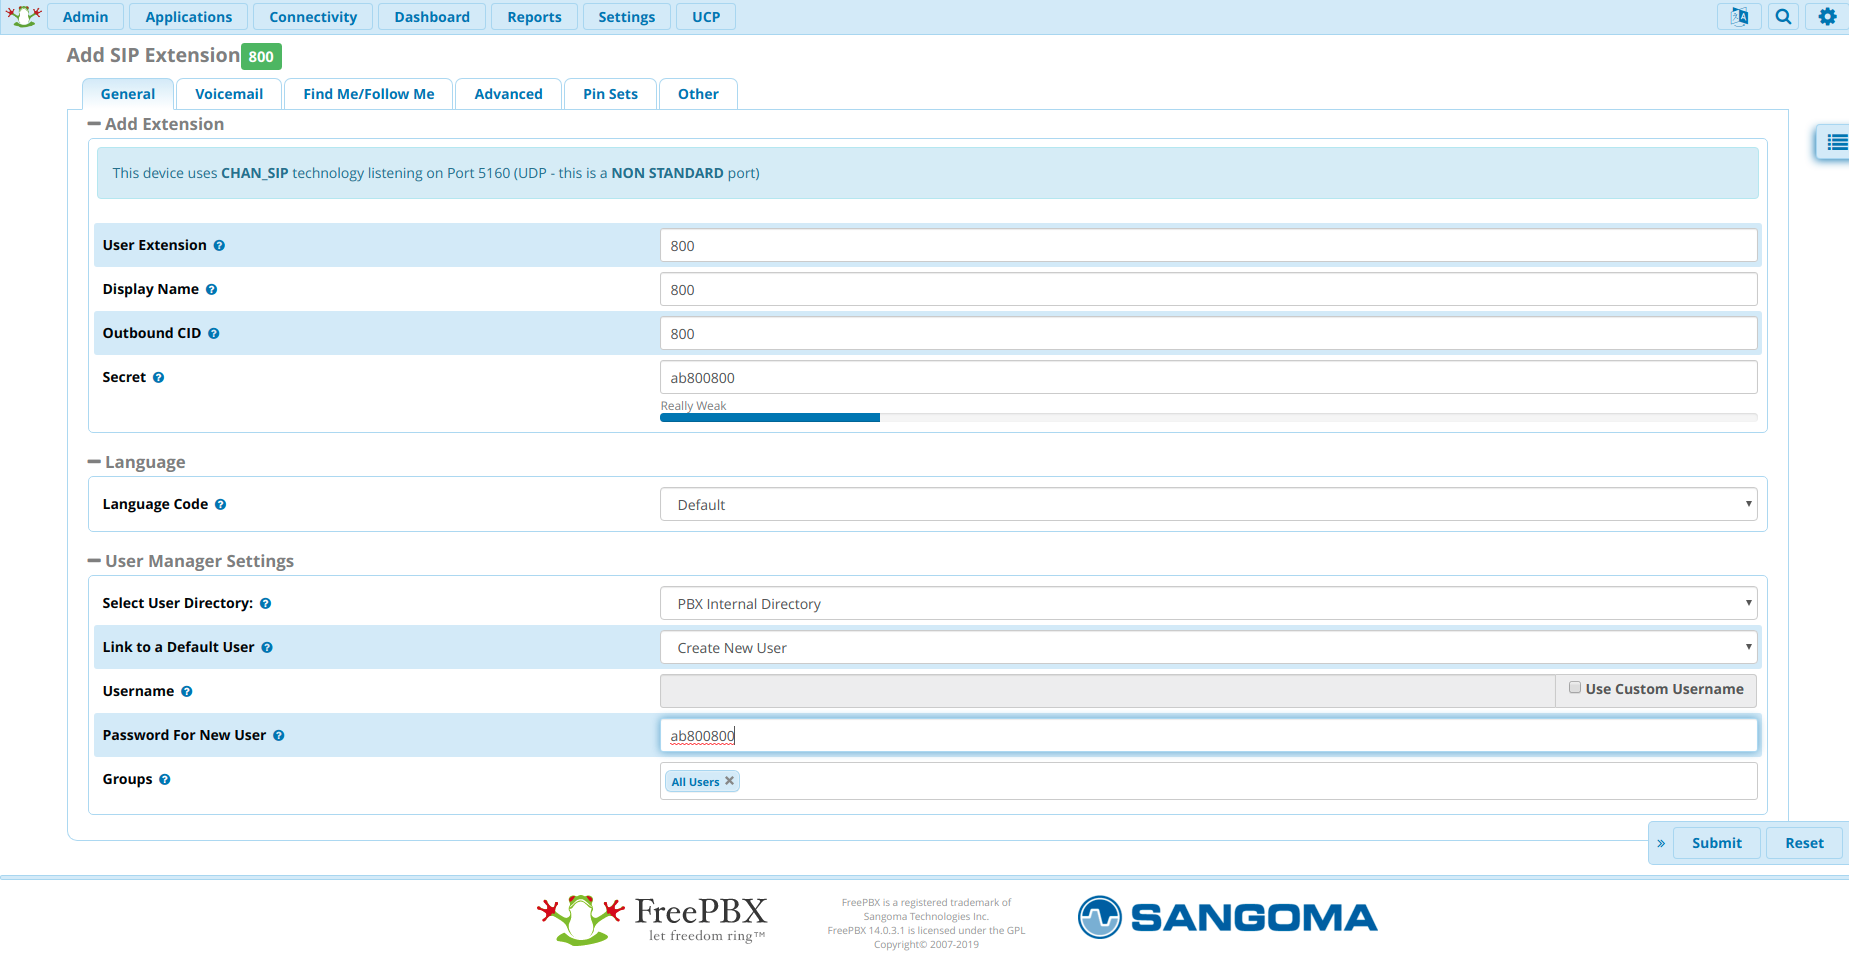
What we need to do now, is to create an extension for one of our agents. This will allow the agent to register to the PBX using its own QueueMetrics Softphone, by using this extension.
To create an extension, access FreePBX Administrator page and head to Applications => Extensions => Add extension => Add new Chan_SIP extension.
Here we will enter the data for our extension and linked user.
Click on Submit and then Apply Config to finalize the extension creation.
We then need to enable WebRTC for this extension so we click on the edit symbol under Actions and we go to the Advanced tab.
Here we need to set the following options:
Transport must be set to All - WSS Primary
Enable AVPF must be set to Yes
Force AVP must be set to Yes
Enable ICE Support must be set to Yes
Enable rtcp Mux must be set to Yes
Enable Encryption must be set to Yes (SRTP only)
Click On Submit then on Apply Config
Now we need to go to Admin => User Management to enable WebRTC for this user.
Click on the Edit Symbol under Action then go to the UCP tab.
From there we go to the Phone tab.
NOTE: at this point if this is a fresh FreePBX Installation, a message will appear saying the following:
You have no default certificates setup in Certificate Manager
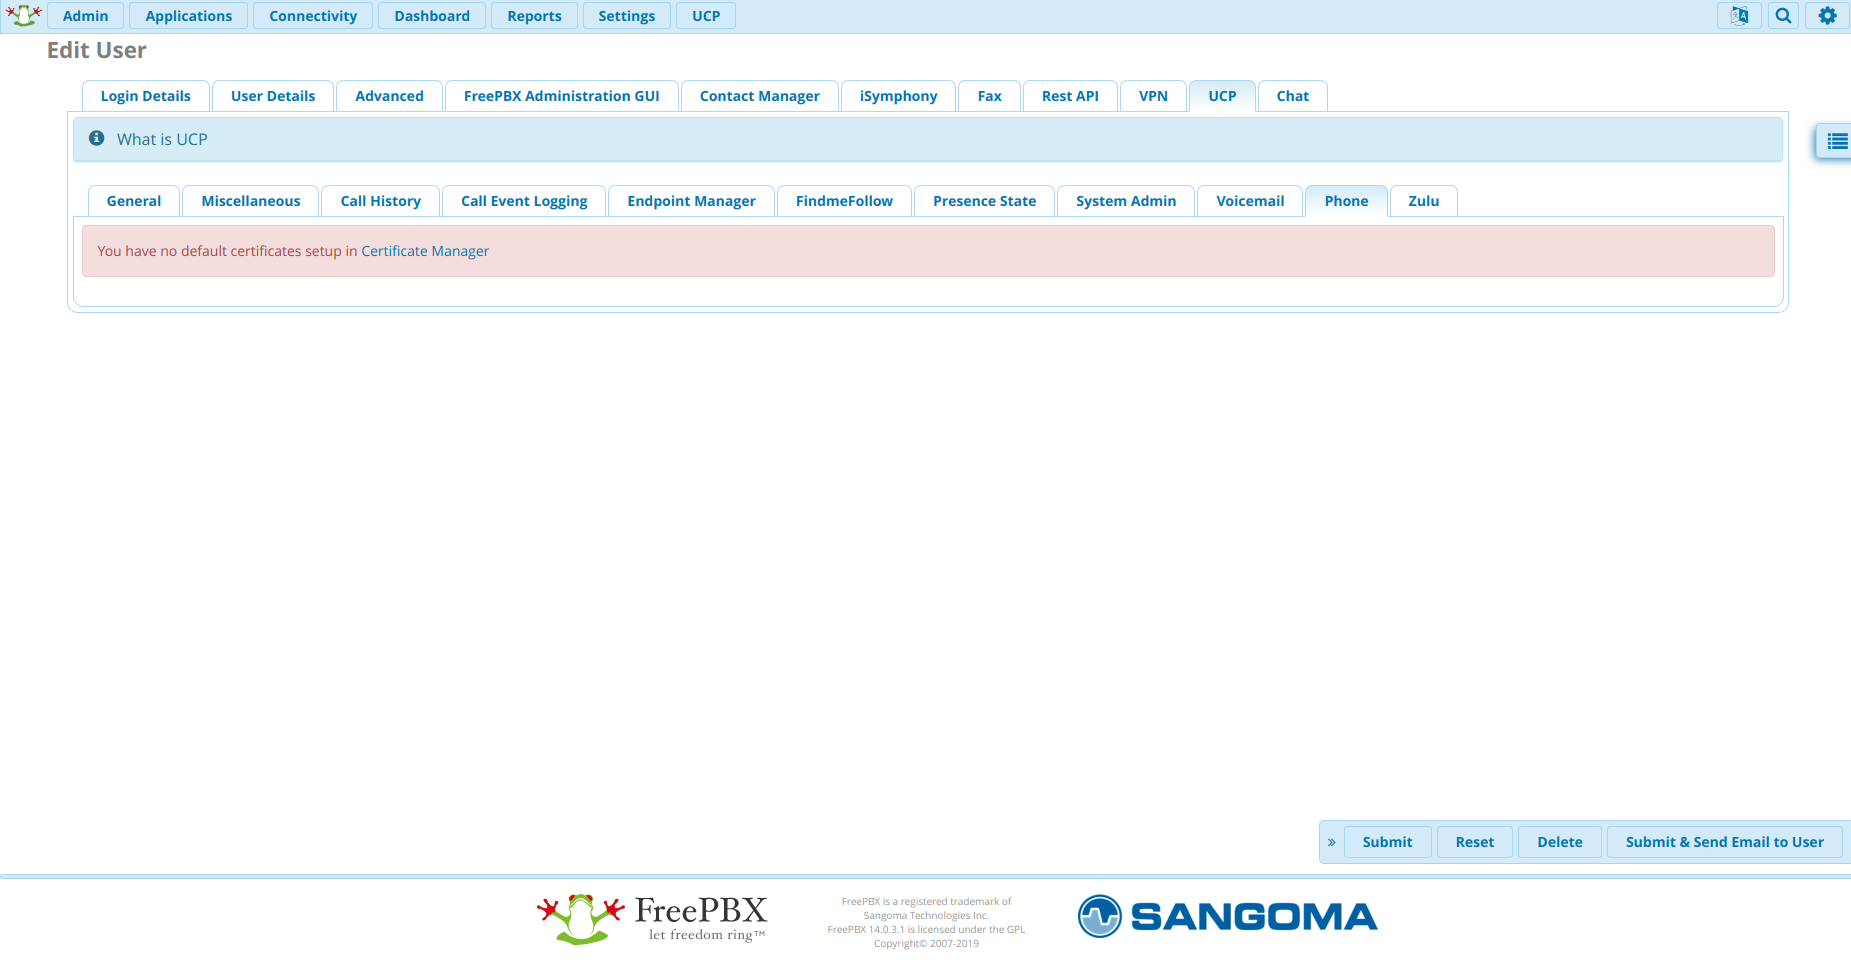
This means that the extension cannot be allowed to be used through WebRTC, because it needs an SSL certificate to ensure an HTTPS connection for the extension.
To fix this, we have two different ways:
-
Create a Self-Signed SSL Certificate*
-
Purchase a valid SSL Certificate
Creating Self-Signed SSL Certificate
Creating your own Self-Signed Certificate, is a valid solution if you are only connecting to your extension from inside your own network. A self signed certificate is essentially a “homemade” certificate, not guaranteed by a Certificate authority.
To create a self signed certificate, we need to go to Admin => Certificate Management.
Here we can click on New Certificate => Generate Self-Signed Certificate, and input the following information:
-
Host name: The ip address of our FreePBX
-
Description: A description of the certificate
-
Orgnization name: Your company name

We click on Generate Certificate to generate the certificate.
This will bring us back to the Certificate Management page, where we need to do one last thing.
If we do not have other certificates set on the system, we need to move our mouse to the empty cell beneath the Default column in the table.
This will show a grey Check symbol in the cell, basically allowing you to set this certificate as the default SSL Certificate for your extensions.
We need to click on the empty cell to set this certificate as the default certificate.

Now that we set this certificate as the default for our system, we can head back to the Phone tab in user 800’s settings.
We should now see that there is an option to Enable Phone, that we have to set to yes.
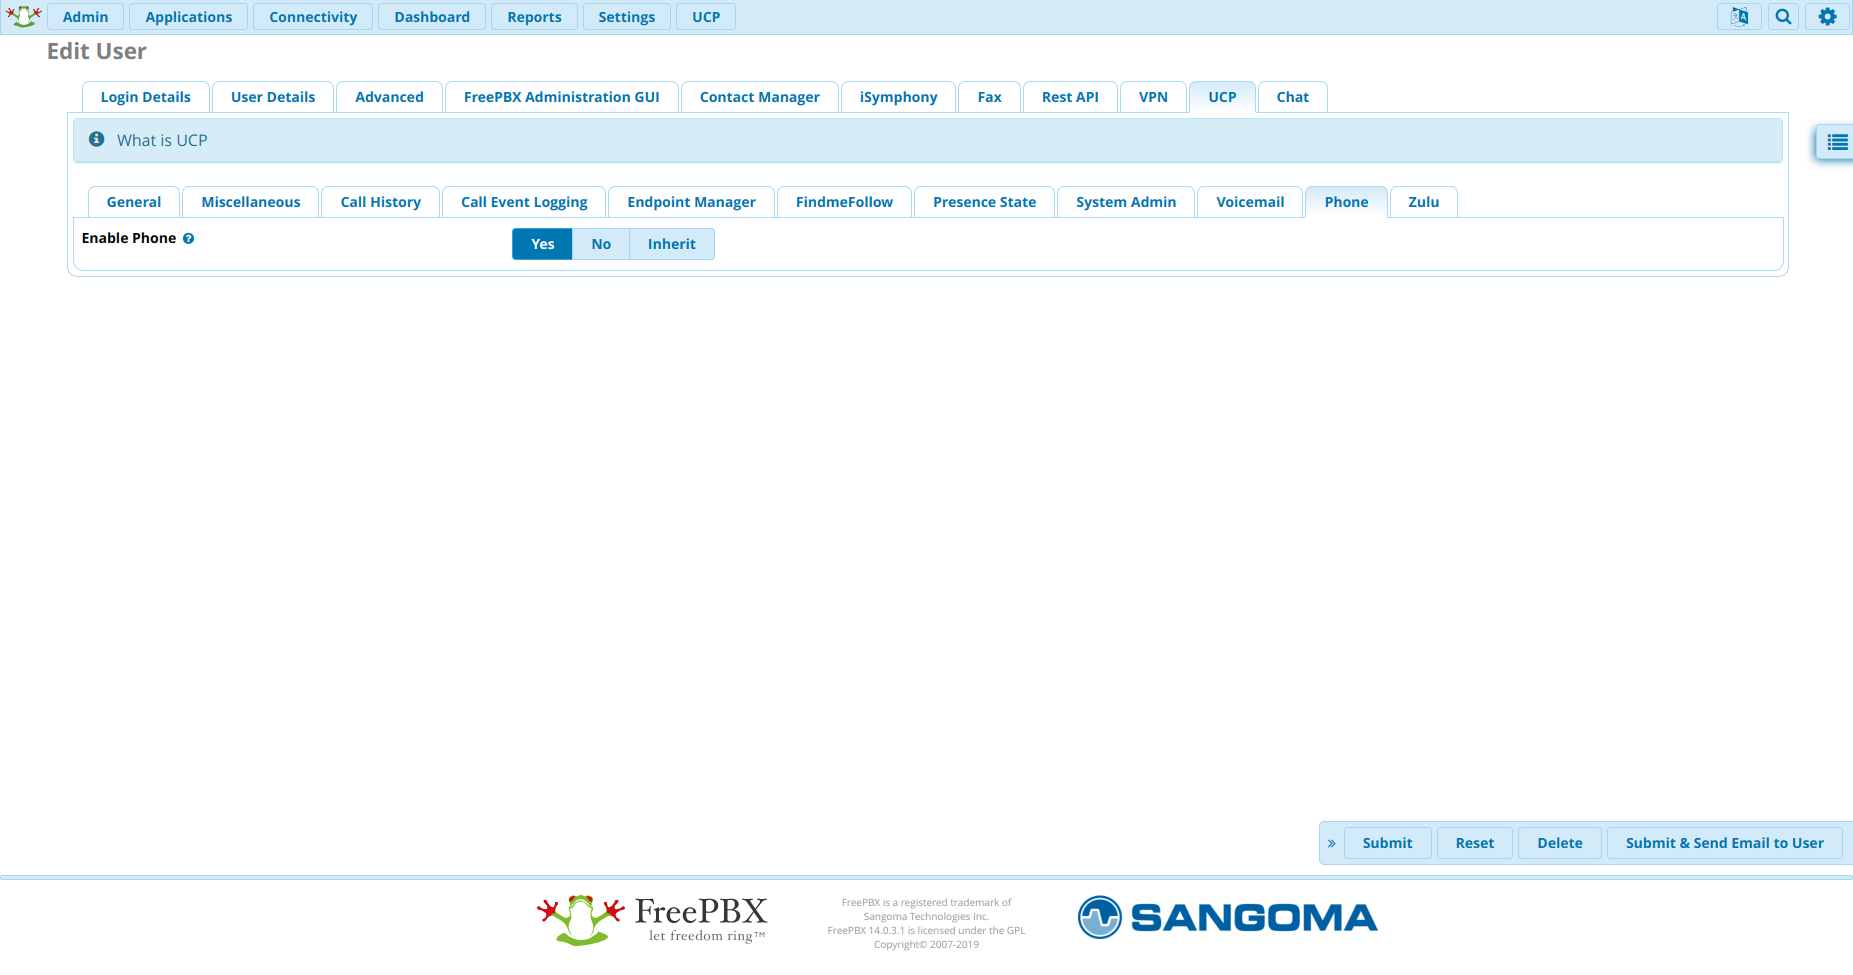
and set Enable WebRTC Phone to yes, we click on Submit then Apply Config.
Then we need to go back to the extension settings in Applications => Extensions => Edit Extension (pencil icon on the right) => Advanced, and set
- Enable DTLS to yes
We click on Submit then Apply Config, and move on to the next section.
NOTE: If you need to import a valid certificate instead of creating a self signed one, you just need to click on the Upload Certificate option, under New Certificate in Certificate Management, and follow the instructions there. Remember to set the certificate as the default certificate after you are done.
Configuring QueueMetrics
To Create and agent, linked to the Asterisk Extension we created earlier, go to Edit Agents -> Create New.
We call the agent Agent/800 and fill in the Agent Description field as we please. We then fill the following fields:
-
WebPhone Username with the username we previously set (in this case 800).
-
WebPhone Password with the password we previously set (in this case ab800800).
-
WebPhone Realm with the address of our FreePBX machine. (in this case 10.10.5.162).
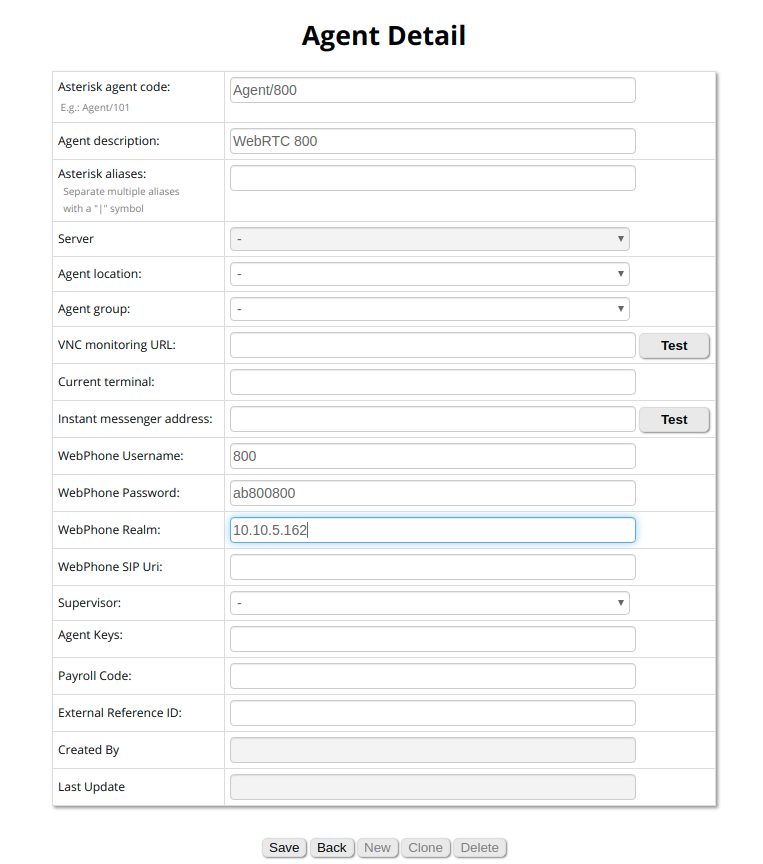
We click on Save then go back to the Homepage.
Now we need to create a User for Agent/800, so we go to Edit Users -> Create New.
We set the Login field to 800, the Password to 800 and we set the Class field to AGENTS.
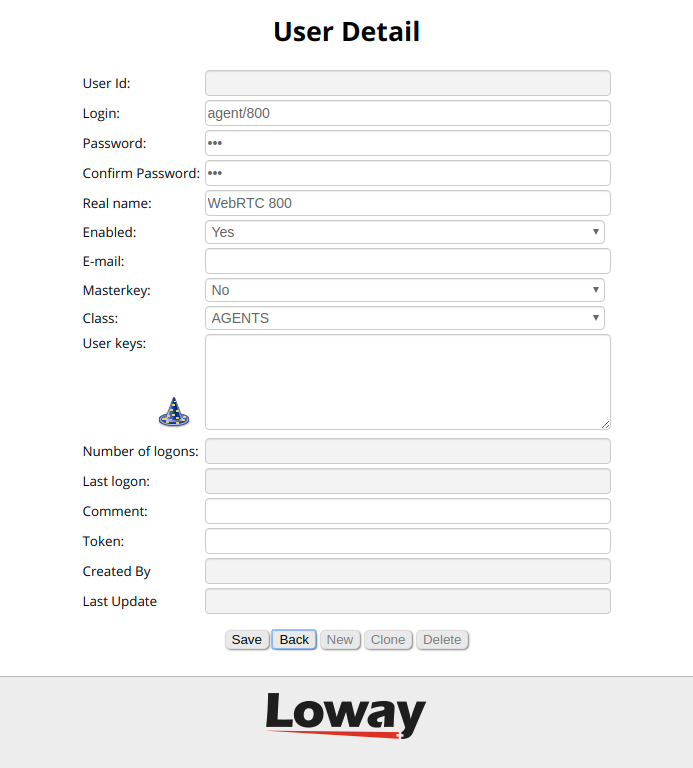
We click on Save and we go back to the homepage.
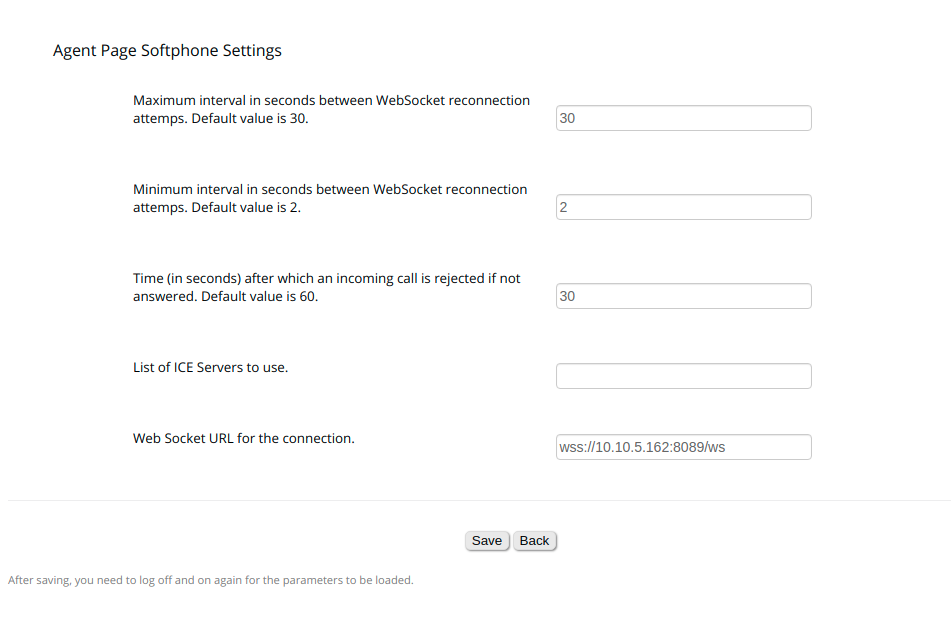
The last thing we need to do is to set one parameter in the Explore System Parameters page. Scroll down to the end of the page until you see the following parameter: Web Socket URL for the connection.
We need to set this parameter to:
wss://10.10.5.164:8089/ws
Using the correct IP address for our FreePBX machine. Then we Save at the bottom.
The last step we need to do, is to add a security exception in our browser for the WebSocket we just configured.
NOTE: this step is necessary only if you are using a Self Signed Certificate.
To do this, log out from QueueMetrics and go to the following url:
https://10.10.5.162:8089/
Where 10.10.5.162 must be substituted with your own PBX Address. This will trigger a security warning from your browser (Probably), and you need to acknowledge the warning and add the source as a security exception.
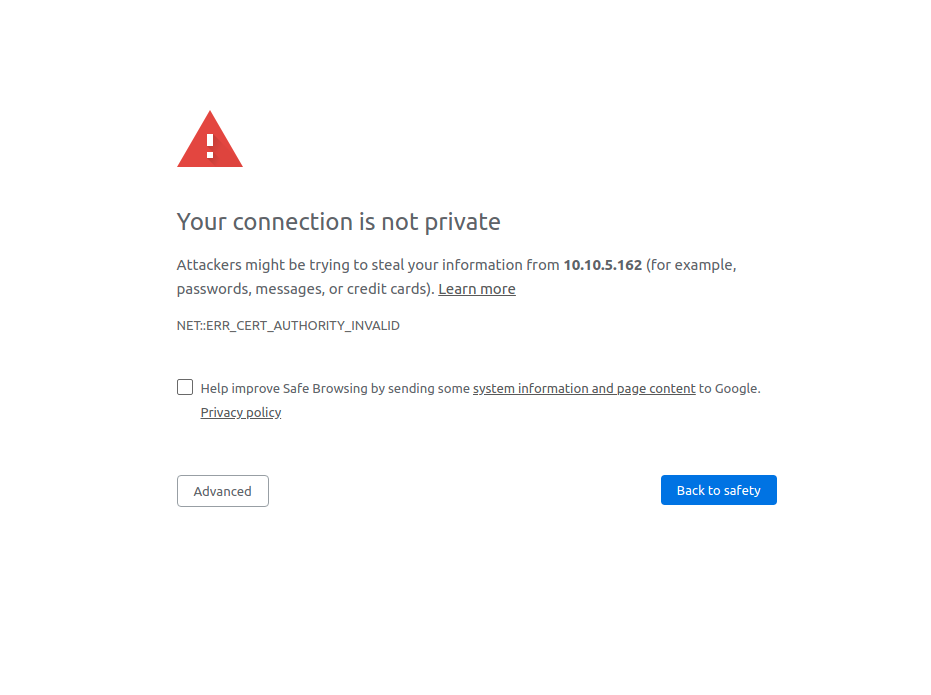
Once you do that, you should see a Not Found error. This is normal and it means that the exception was added correctly.
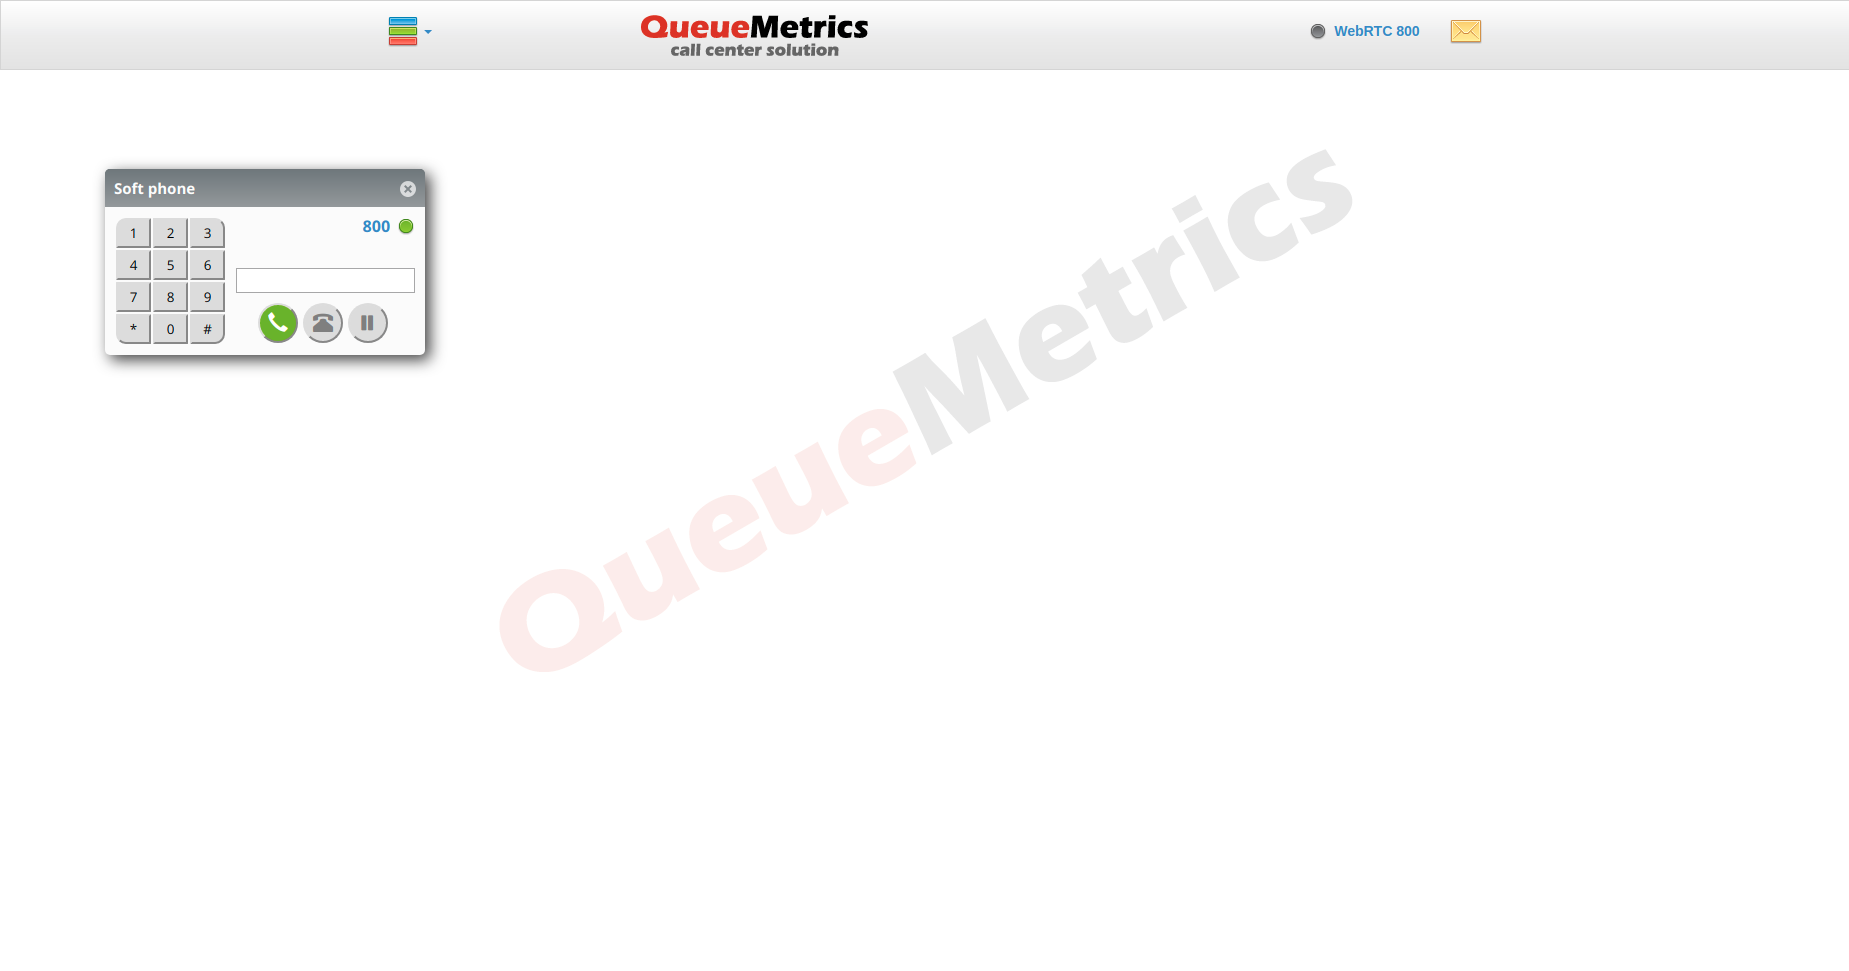
Now we’re good to go! We go back to our QueueMetrics login page, and we login as Agent/800.
From the Widget Menu we select Soft Phone and here is our WebRTC client.
Wallboard Softphone
Since QueueMetrics 19.04.1, the Wallboard page includes a Softphone panel, with the same features as the one present in the agent page.
After completing the previous configuration process, it is very easy to setup, as we merely need two steps to accomplish this:
- Add the correct security key to the user
- Set the default configuration for the Softphone
Adding the Softphone security key
To do this, we need to head to the User Configuration page, and open the settings for the user to whom we want to assign the ability to use the softphone.
Here we click on the Wizard hat icon, that will open the security key menu. Here we assign the following key to the user:
- User can use the wallboard softphone
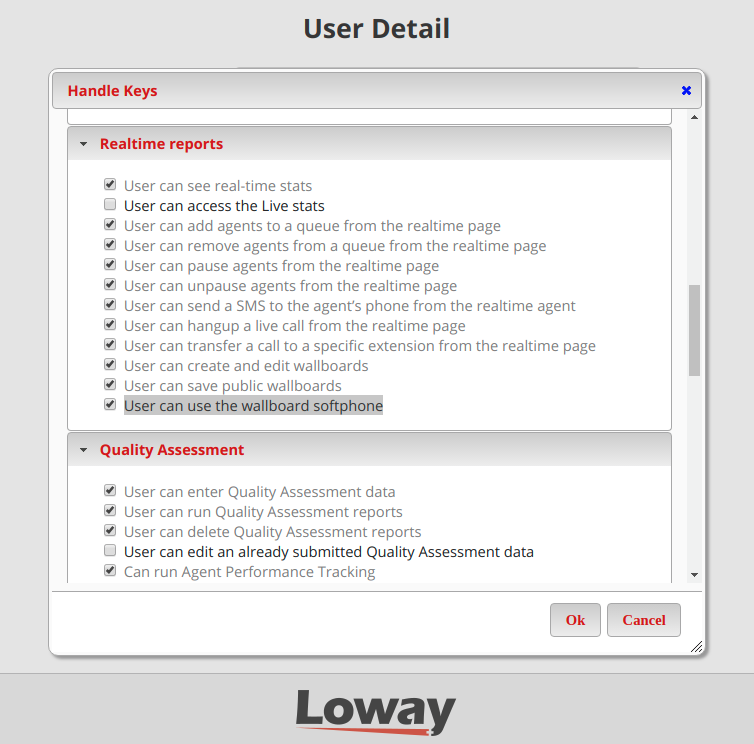
Once we do this, we can save and go back to the homepage.
Setting the default softphone configuration
From QueueMetrics’ Homepage we go to Edit System Parameters or Explore System Parameters.
The properties that we can set in the Edit System Parameters page are the following (with some example values):
- default.wallboardphone.connection_recovery_max_interval=30
- default.wallboardphone.connection_recovery_min_interval=2
- default.wallboardphone.display_name=200
- default.wallboardphone.no_answer_timeout=60
- default.wallboardphone.password=ab200200
- default.wallboardphone.username=200
- default.wallboardphone.server=10.10.5.181
-
default.wallboardphone.iceservers=stun:stun01.sipphone.com stun:stun01.sipphone.com stun:stun.fwdnet.net - default.wallboardphone.websocketurl=wss://10.10.5.181:8089/ws
NOTE: in the Explore System Parameters page you can search for each parameter in the top search bar, and set it from the resulting input box.
NOTE: these values will be the default for each user that uses the wallboard softphone, if you want to change individual usernames and passwords for each user, this is done by changing the settings directly in the wallboard Softphone Settings panel.
Using the Wallboard Softphone
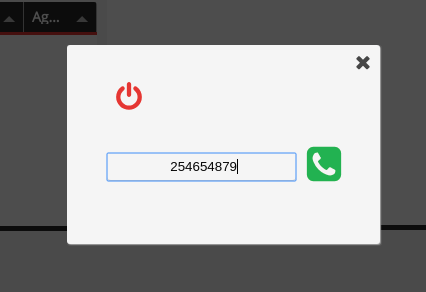
Once these steps are completed, we can head to the wallboard page, and we should be able to see two new icons on the top bar:

The cogs icon opens the Softphone Settings panel, where the user can change its own settings that will be saved as User preferences for that user, and will persist between sessions.

The phone icon opens the actual Softphone panel, which can be used the same way as the Agent Page Softphone.
QueueMetrics References
For more technical information about QueueMetrics call center solution please refer to the User Manual.
Visit www.queuemetrics.com for a 30 days full featured trial.
Attend our Free Webinars for a live demonstration of QueueMetrics.
keyboard_arrow_left Back