QueueMetrics-Live Quick Setup on PBXact

If you are testing QueueMetrics-Live on your PBXact platform (powered by FreePBX), read ahead to find out how to quickly set everything up.
QueueMetrics-Live
QueueMetrics-Live cloud solution for call centers enhances your agent productivity and improves the daily workflow using a dedicated agent page with alarms options, outcomes, features codes, a WebRTC softphone, integration with all modern CRM and a complete quality tracking tool.
Track all contact centre activities with more than 200 different metrics and manage processes in realtime with extensions, calls control, live alarms, whisper, spy and barge mode, and all the advantages offered by a cloud solution like free updates, management, data retention, installation and configuration.
QueueMetrics-Live Quick Setup (PBXact)
Install Uniloader on PBXact
To install Uniloader on your PBX, run the following commands
wget https://yum.loway.ch/loway.repo -O /etc/yum.repos.d/loway.repo
yum install uniloader
This will install the Uniloader service, that is responsible for sending your PBX data to your QueueMetrics instance.
Setup Uniloader
We need to setup the uniloader with your QueueMetrics information. Edit the following file:
/etc/sysconfig/uniloader
and, since we are using the Live version of QueueMetrics, we need to uncomment the QueueMetrics-Live section, and comment or delete the Local QueueMetrics instance section, like so:
QUEUELOG=/var/log/asterisk/queue_log
# QUEUELOG="/var/log/freeswitch/queue.log"
LOGFILE=/var/log/asterisk/uniloader.log
LOCKFILE=/var/lock/subsys/uniloader
PIDFILE=/var/run/uniloader.pid

# Local QueueMetrics instance
# URI="mysql:tcp(127.0.0.1:3306)/queuemetrics?allowOldPasswords=1"
# LOGIN=queuemetrics
# PASS=javadude
# TOKEN=P001

# QueueMetrics-Live
URI=ACCESSURL
LOGIN=webqloader
PASS=PASSWORD
TOKEN=
Be sure to set the correct access url and password, by changing ACCESSURL and PASSWORD in the above file, to the information you have received when your instance was created.
The LOGIN field will remain webqloader, as that is the default user for data uploading.
Once this is all setup, restart the service with:
systemctl restart uniloader
Autoconfigure QueueMetrics-Live
To automatically import all your agents and queues from PBXact, run the following command, after setting the correct information in it:
uniloader pbxinfo --mode "syncqm" --uri "ACCESSURL" \
--login "webqloader" --pass "PASSWORD" --all-queues "1" freepbx \
--dburi "localhost/asterisk" --login "root" --pwd ""
As above, make sure to set the correct ACCESSURL and PASSWORD in the command, before running it.
Congratulations
Now you should be able to see your Call Center activity under Start realtime monitoring or Start wallboard in the homepage.

Sending Commands to PBXact (Optional)
These settings are only necessary if you intend to use the QueueMetrics Agent Page or allow your supervisors to control your agents and calls from the Realtime View.
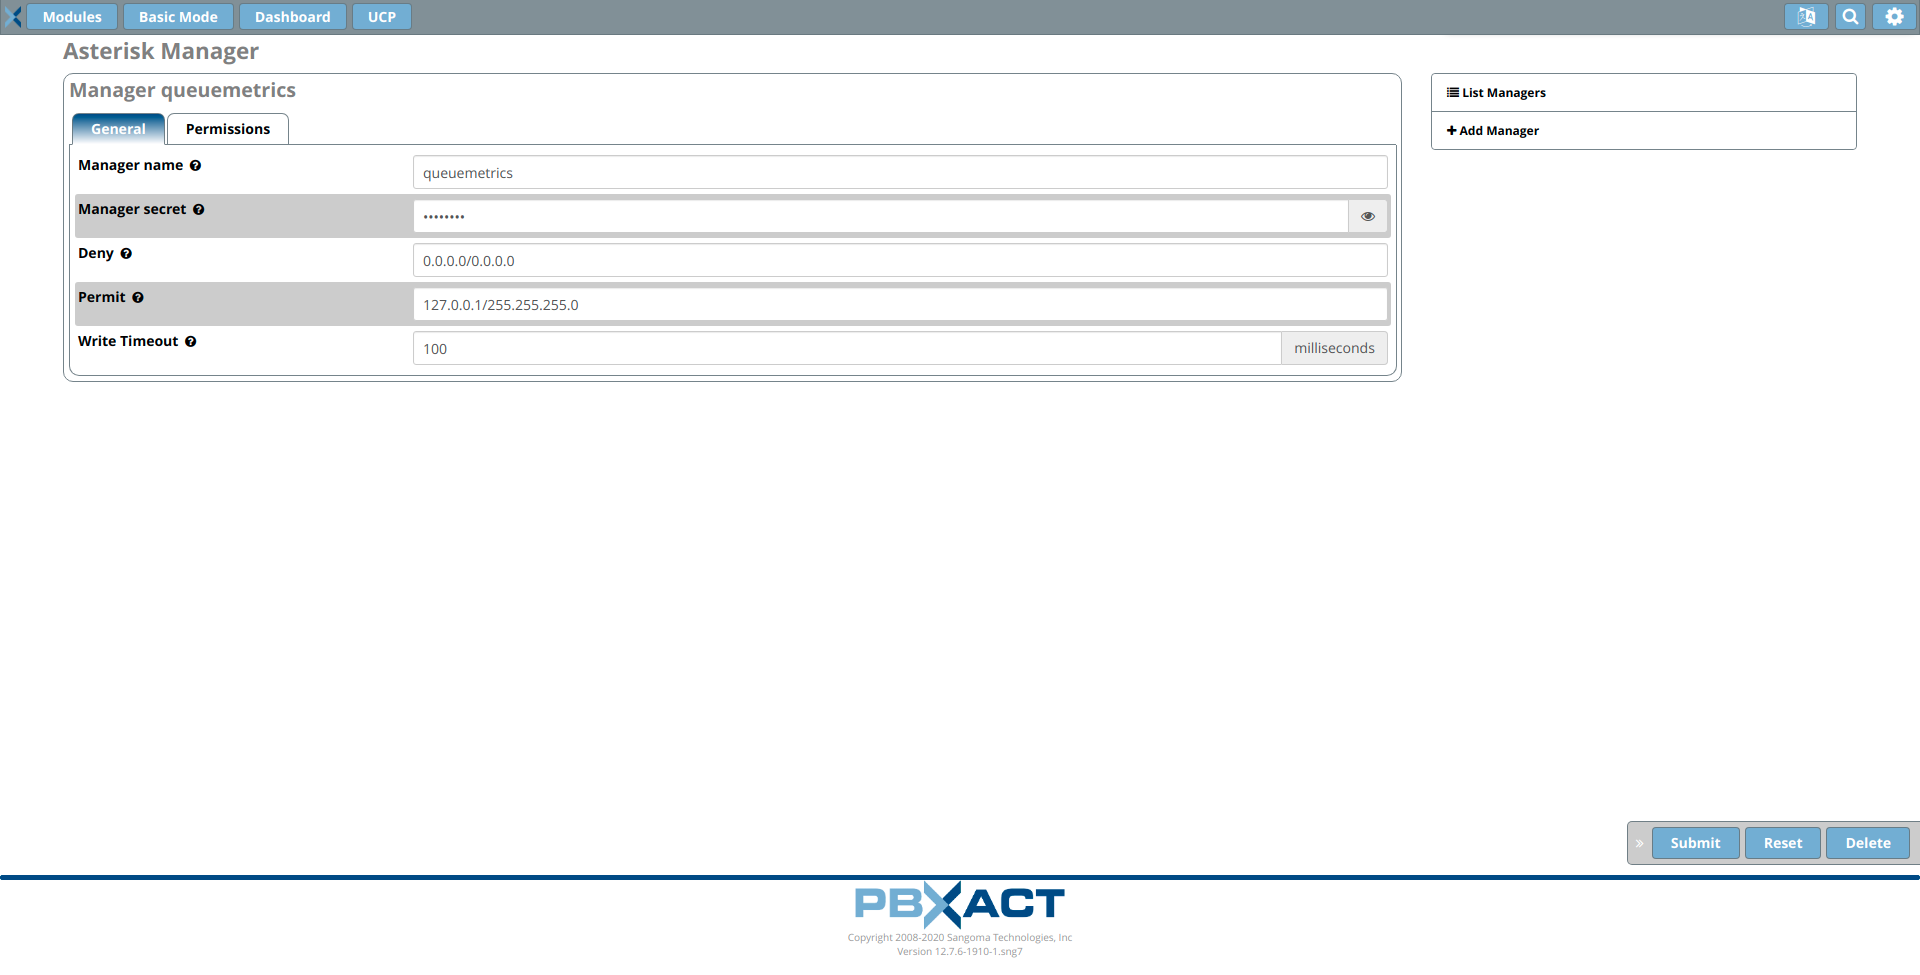
AMI Credentials in QueueMetrics-Live
To allow the QueueMetrics to send commands to the PBX (Log agents on queues, Pause agents etc.), we need to create an AMI user on the PBXact, then set the credentials in QueueMetrics.
From QueueMetrics’ Homepage, go to Edit System Parameters and change the following value from:
callfile.dir=tcp:admin:password@127.0.0.1
to
callfile.dir=tcp:AMIUSERNAME:AMIPASSWORD@127.0.0.1
SIP or PJSIP
QueueMetrics-Live needs to know which format to use when logging extensions onto queues.
Depending on what extensions you are using, add the following property at the end of the Edit System Parameters page:
platform.directami.extension=SIP/${num}
or
platform.directami.extension=PJSIP/${num}
User settings
The autoconfiguration process that we previously ran, will have created users for your agents as well. The only thing we need to do is to choose a password for them. From QueueMetrics’ home page, go to Users, and edit the user you want to enable, by clicking on the pencil icon on the right.
From here you just need to set a password and confirm it in the field below.
NOTE: Agents will need to login using their own agent code (eg: agent/200), unless you set an E-mail address for them, that can then be used on the login screen instead of the agent code.
Now, if you log out, you will be able to login as an agent using your agent credentials.
QueueMetrics References
QueueMetrics software is available on premise or as a cloud hosted service for FreePBX, Yeastar S PBX, Grandstream, Issabel, FusionPBX and many other Asterisk distros.
For more technical information please refer to the User Manual.
Visit www.queuemetrics.com for a free 30 days full featured trial.
Attend our Free Webinars for a live demonstration of QueueMetrics.
keyboard_arrow_left Back