First custom report and report scheduling

In QueueMetrics, a Report is a collection of different pages, each one containing a variable number of DataBlocks (tables and graphs).
In this tutorial, we are going to go through the necessary steps in order to create a new report and schedule the custom report to be sent periodically via e-mail.
QueueMetrics
QueueMetrics is a highly scalable monitoring software that lets you track agent productivity, payrolls, measure targets, conversion rates, ACD, IVR, Music on hold, generate outbound campaign statistics and monitor realtime processes with customizable wallboards.
You can measure all contact center activities with more than 200 different metrics and manage realtime processes with extensions and calls control, live alarms, whisper mode, spy and barge mode.
Creating a custom report
The default “All Reports” report in QueueMetrics can be quite useful, but not as useful as a custom report that has all the data that you actually care about. In “All Reports” you will find most of the datablocks, but not everything will be useful to you; that is why we encourage our customers to create their own custom reports.
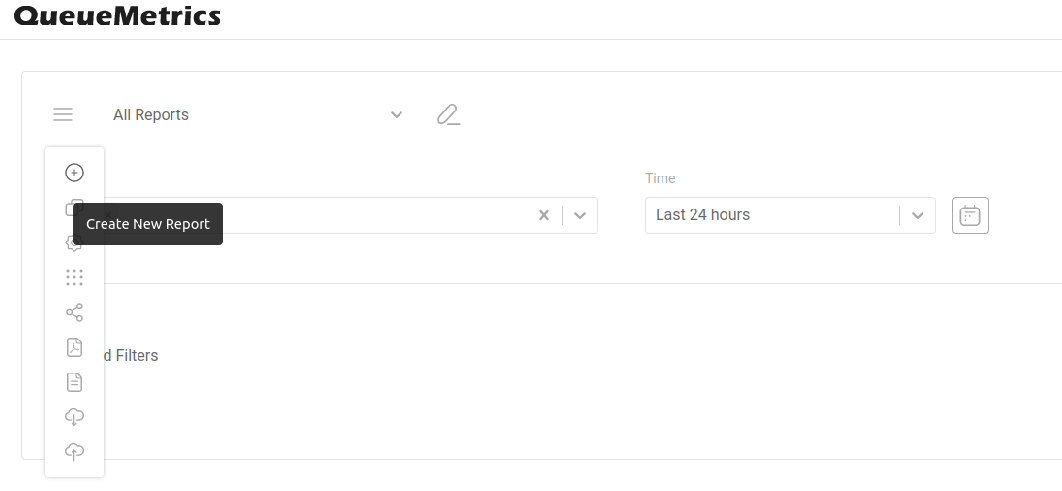
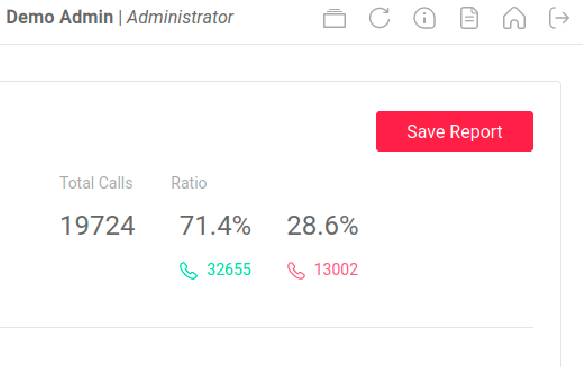
From the QueueMetrics Homepage, simply click on the “All Reports” link, in the “Reports” info box. This will open the first, default, report.
From here, you can click on the “Create New Report” icon (plus icon in the upper-right corner, under the menu, of the report); this will create a new black report.
Let’s say that today we care about how many calls have been answered by our agents and what were the most productive hours yesterday.
In the upper-right corner under the of the report settings, we have the “Open Datablock Menu” icon:
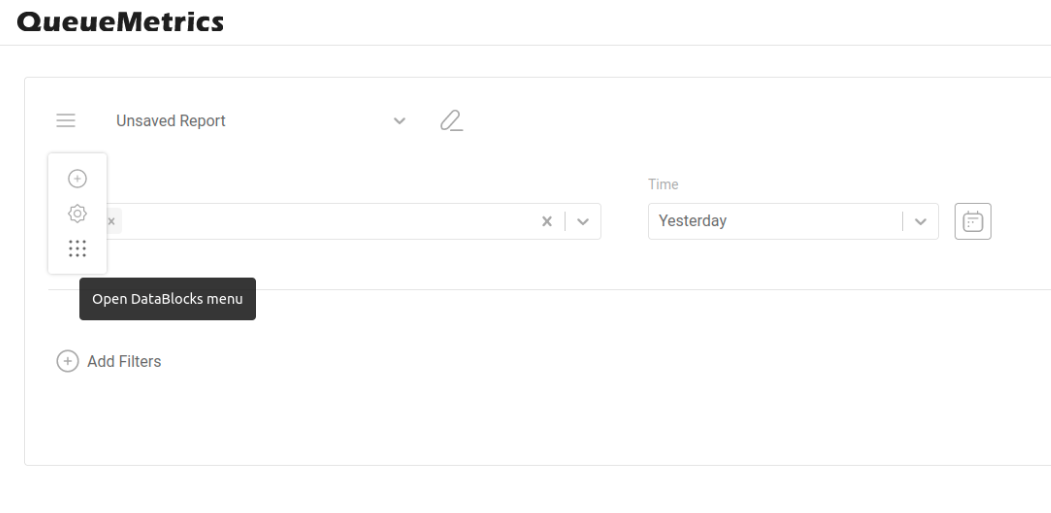
Click the icon, and look for “Queue Details”. Click on the “plus” icon near the datablock.
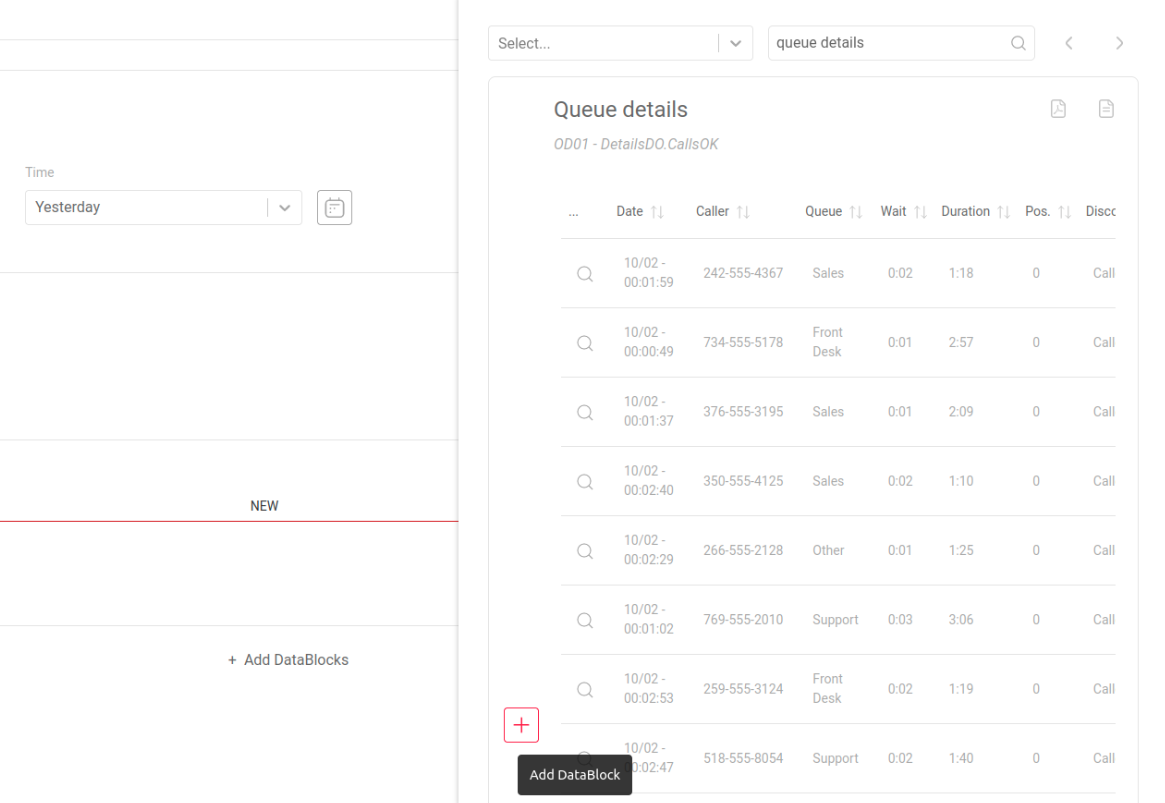
Open the “Datablock Menu” again and search for “Answered call distribution per hour”; click the “plus” icon again, to add the datablock to the report.
Repeat this for other metrics, by simply searching for keywords.
In the upper part, you can click the “calendar” icon to change the time period to “Yesterday”.
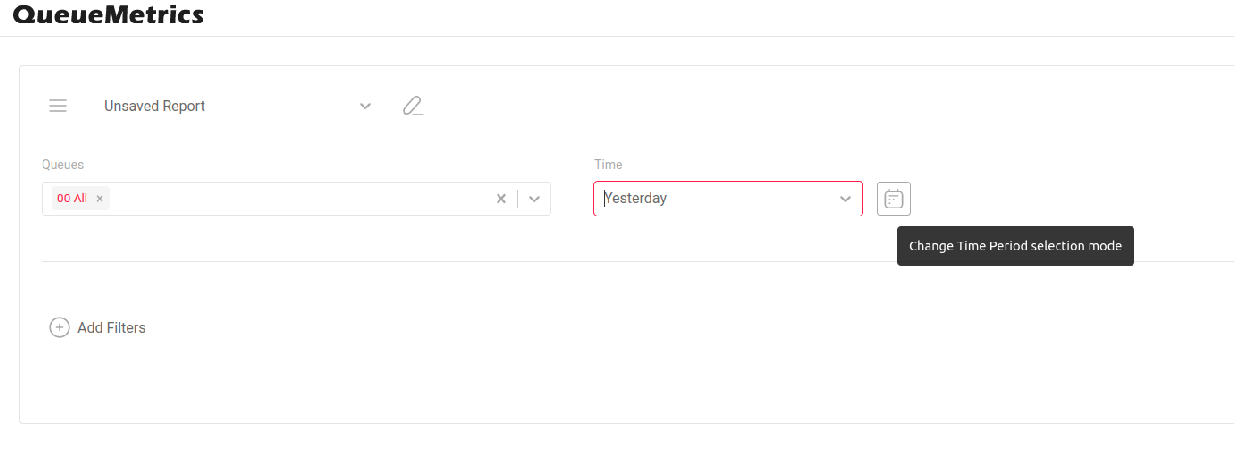
The last step is to Save our report by clicking the “save” icon in the upper-right corner, and entering a “New Report” title when prompted.
The reporting system is very customizable and might require a bit of time to fully take advantage of. In our documentation, you can find a much more in depth guide: Reporting system documentation
Scheduling the report
Now that we have our first report, we can create a schedule, for the report to be sent out via e-mail automatically.
NOTE: The QueueMetrics hosted solution has a default SMTP server configured; if you are using the on-premise version, make sure you set up the SMTP server: SMTP settings
Edit Report Exports
Foremost, we need to choose the custom report that we are going to export. In our example, we are going to schedule our “First Report” custom report.
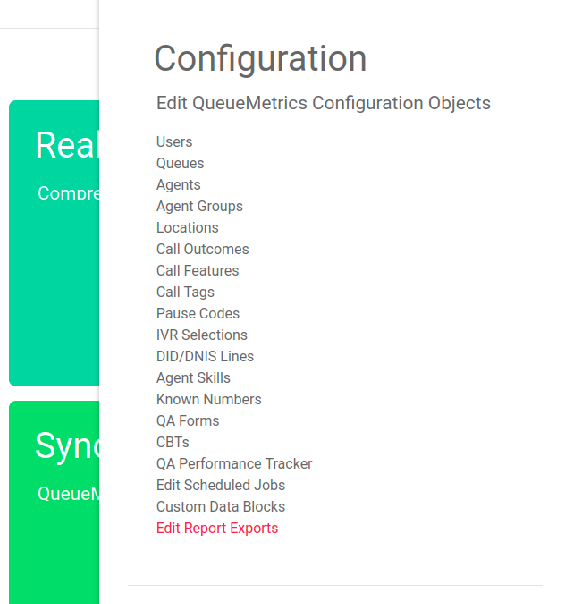
From the QueueMetrics Homepage, go to Setting and click on “Edit Report export”.
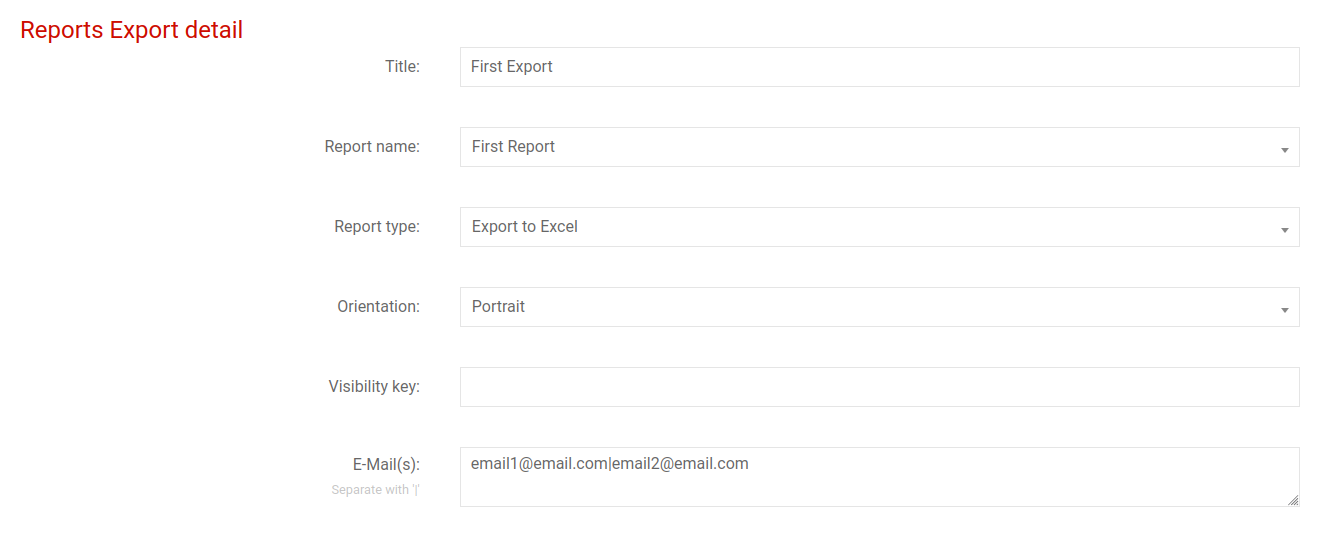
Opening up the Report Exports Configuration page, we are going to create a “New Export”, by clicking the “Create new” button.
From here, we are going to add our title (in this case, First Export), chose the report that we want to schedule, the format (in this case Excel) and the e-mail (you can have more than one e-mail by separating them with the “|” pipe symbol).
Edit Scheduled Jobs
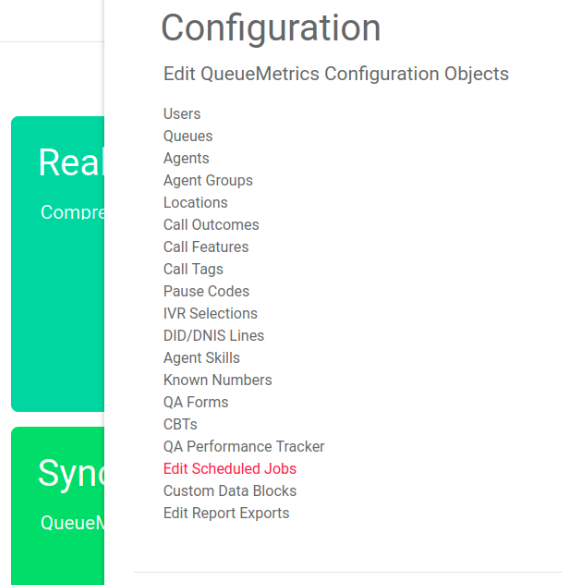
Now we can go to the Edit Scheduled Jobs section of QueueMetrics, where we can create a new schedule for our report.
In this section, we are going to select our previous Export Job (First Export) and we are going to give a description to this Schedule Job.
We want the report to be sent to us every working day at 8:00 AM; so we have selected “Once a Day” at “8:00 AM”, from Monday to Friday (by clicking the calendar).
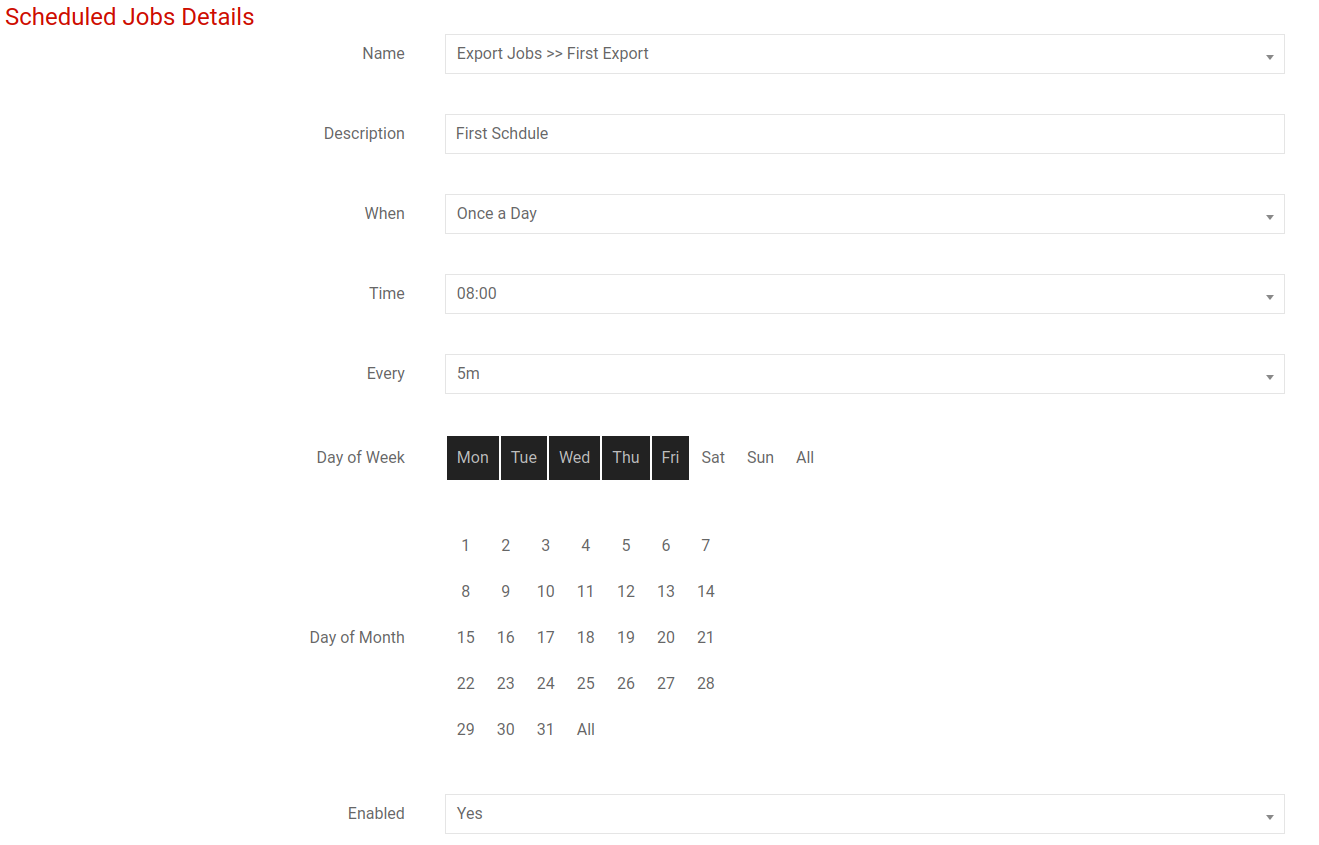
Make sure that the Scheduled Job is “Enabled” and Save.
This should be everything you need to know to set up your first Scheduled job.
Keep in mind that every time you update the custom Report assigned to this Schedule Job, the e-mail you receive will have the updated Report, with the new filter or parameters assigned to it.
In the next tutorial we are going to learn about using additional useful Uniloader tools, to optimize the call center:
Additional useful tools to optimize the call center
QueueMetrics References
QueueMetrics software is available on premise or as a cloud hosted service for FreePBX, Yeastar S PBX, Grandstream, Issabel, FusionPBX and many other Asterisk distros.
For more technical information, please refer to the User Manual.
Visit www.queuemetrics.com for a free 15 days full-featured trial.
keyboard_arrow_left Back